
The form of the building is almost complete and now for the artistic part! It's time to plaster the mud brick walls to help protect them and add strength and beauty to the building. First we learned about the different components that go into earthen plasters and the purpose of each layer: base or scratch coat, and finish coat. The clay we are using is a beautiful red, so the exterior will be plastered with a rough coat only for the time being. The mix for this one is 4 clay: 3 rice husks: 1 sand and water as needed (if the clay wasn't pre-soaked, it was about 4 in that ratio). On the interior we will have at least two coats, and a lime paint in some areas. We are also carving niches and doing a bit of sculptural work on the interior.
Creativity abounds!
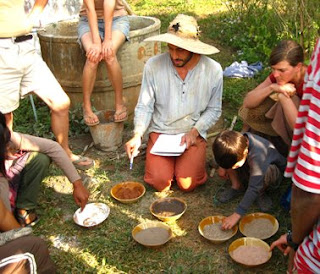 Learning (through all the senses) about our materials
 making sample "cookies"
 the mudpit dance
Teresa and Martha really know how to work it!
 Stevan shows us how it's done.
 Benito window detailing
 Peter builds up a corner
how many plasters can you fit on a wall?
 the underside of the arch is the trickiest part!
 Benito Steen really knows plasters and it's great to have him as out instructor
 Oi carves a niche
three niches follow the stairs--
simply can't to plaster these, stay tuned for more pictures!
This comment has been removed by the author.
ReplyDelete